MacMini eSata
Mac Mini eSATA Hard Disk Modification
-
-
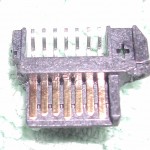
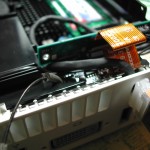
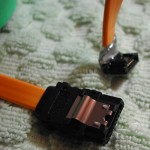
A pic of the SATA connector that was used to build the internal cable.
-
-
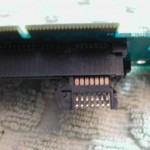
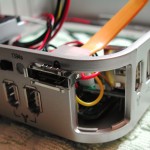
Another view of the SATA connector and the riser card
-
-
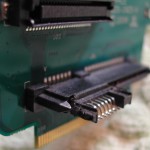
Test fitting the SATA connection to the riser card
-
-
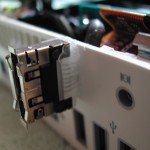
Attaching the cable to the riser card
-
-
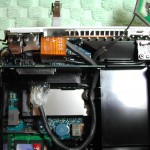
Another view of the internal cable routing
-
-
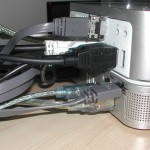
Routing of the internal cable
-
-
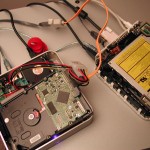
Testing the cable
-
-
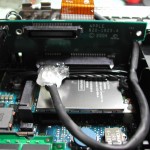
Full size disk mounted using eSATA
-
-
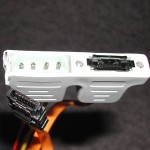
Modification of the Ministack enclosure
-

-
Modification of the Ministack enclosure
-
-
The interal sata cable for Ministack enclosure
-
-
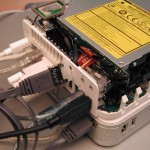
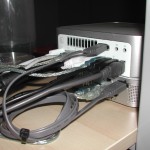
Test run of the eSATA connection
-
-
eSATA cable routed through security lock hole
-
-
Original version of the cable routed out the rear of the unit.
-
-
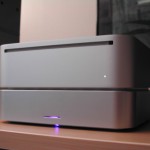
Mac Mini
-
-
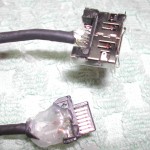
Source of the modified eSATA cable.
-
-
The modified eSata cable
-
-
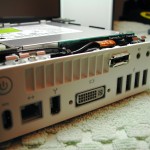
The back of the modified Mac Mini
-

-
The modified drive enclosure
-
-
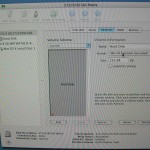
eSATA Connection